Webflow CDN Video Storage Instructions
***DO NOT DELETE VIDEOS UNLESS NO LONGER IN USE***
Note: Replacing videos here does not replace the global CDN asset. You will need to replace and copy the URL and replace the URLs yourself as needed.
- Load this page in the Webflow Designer
- Select the video portion (top portion) of a card that doesn't yet have a Video or a duplicated version to replace.
- Navigate to the Video Element's Settings (press the 'D' key on your keyboard)
- Upload your video, and wait for transcoding to finish
- If Preview Mode + Custom Code is enabled:
After transcoding completes enter Preview Mode (Help Article)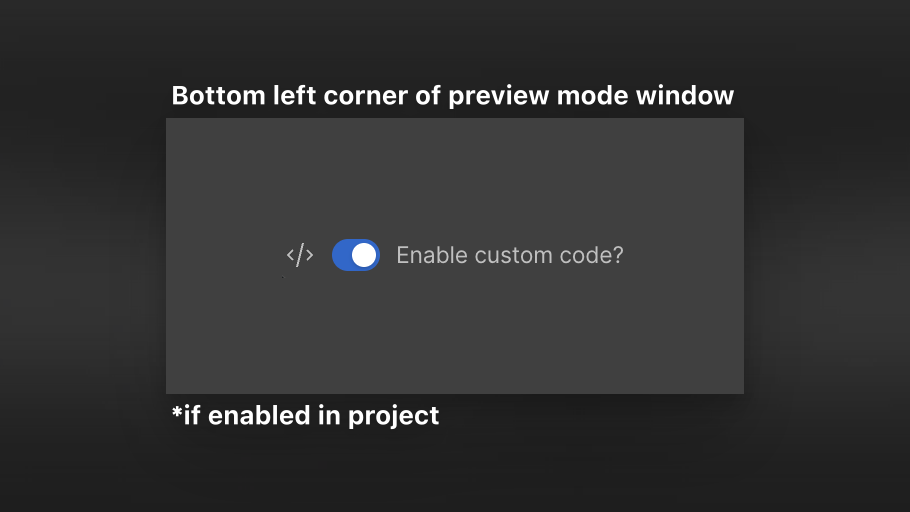
- If Preview Mode + Custom code is not enabled:
Publish the project to staging (or production) and open this page from the Designers Publish dialogue
*This method require publishing the page
(Suggestion: password protect the page and remove it from the project's sitemap)
- Follow the instructions on the Preview Page or Live Page to get the mp4/poster-image URL's for the video files you added here
Instructions
- Click the Copy URL button for what you need
- Use the URL where you need it (components, Webflow CMS, etc.)
Video Title:
Example Video Title
Upload Date:
Example Video Upload
Video Title:
Video Title
Upload Date:
Upload Date